
There’s just something about homemade fried chicken that brings smiles to everyone’s faces, especially during the summer. My recipe is not just any fried chicken it’s crispy, juicy, and downright finger lickin’ good! Whether you’re making chicken fingers for the kids or some crispy chicken chunks for a sandwich, this recipe will have everyone coming back for seconds. Let’s dive into this mouth watering dish!
Method
Set Up Your Workstation
Start by setting up a clean and organized workstation. You will need three bowls: one for the chicken, one for the flour mixture, and one for the batter. Keeping everything ready before you start will make the process smoother and more enjoyable.
Season the Chicken
Take the chicken breasts or drumsticks and lightly season them with salt. This step is crucial as it enhances the flavor right from the beginning. If you’re making chicken fingers, slice the chicken breasts into 1-inch strips. If you prefer chunks for sandwiches, slice the breasts in half. Set the seasoned chicken aside while preparing the coating.
Prepare the Flour Mixture and Batter
In one of the bowls, prepare the flour mixture by whisking together the flour, corn starch, Montreal chicken spice, paprika, and garlic powder. This combination will give the chicken a flavorful and crispy coating. In another bowl, prepare the batter by whisking flour, water, eggs, salt, and pepper. The batter should be smooth and lump-free, ensuring an even coating on the chicken.
Coating the Chicken
Now, it’s time to coat the chicken. Take each piece and dip it first into the flour mixture. Make sure it is evenly coated on all sides. Next, dip the chicken into the batter, allowing the excess to drip off. Finally, return the chicken to the flour mixture, pressing lightly to adhere. This double-dipping process ensures an extra crispy texture.
Heat the Oil
Fill a deep pot with oil, leaving enough space at the top to prevent overflow during frying. Heat the oil to 350°F, monitoring the temperature with a meat thermometer. Maintaining the correct temperature is essential for crispy, evenly cooked chicken.
Frying the Chicken
Carefully lower the chicken pieces into the hot oil. To prevent sticking, gently sway the chicken in the oil as you release it. Fry the chicken in batches, avoiding overcrowding, as this can lower the oil temperature and result in soggy coating. Fry until the chicken turns golden brown, about 6-8 minutes per batch, depending on the size of the pieces. Use the thermometer to check that the internal temperature reaches 165°F before removing the chicken from the oil.
Draining and Serving
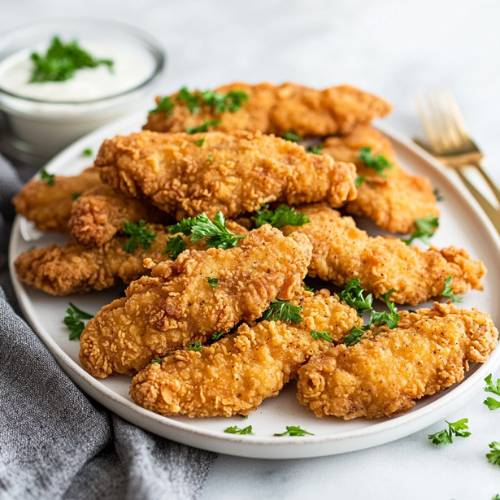
Once the chicken is perfectly cooked and golden, remove it from the oil and place it on a wire rack to drain. Avoid using paper towels, as they can make the coating soggy. Let the chicken rest for a few minutes to retain its crispiness before serving.
Necessary Tools
- Mixing bowls (3)
- Whisk
- Measuring cups and spoons
- Deep frying pot
- Meat thermometer
- Wire rack for draining
Fried Chicken Recipe: Finger Lickin’ Good!
Cuisine: AmericanDifficulty: Easy6
servings15
minutes20
minutes35
minutesIngredients
For the Flour Mixture
2 cups flour
½ cup corn starch
2 tbsp Montreal chicken spice
1 tsp paprika
1 tsp garlic powder
For the Batter
1 cup flour
1 cup water
2 eggs
1 tsp salt
½ tsp pepper
Chicken
5 chicken breasts (sliced into 1” slices for chicken fingers or in half for chunks)
OR 10-12 drumsticks
Salt, for seasoning
Oil for frying
Dipping Sauce
¼ cup mayonnaise
2 tsp mustard
1 tbsp honey
Directions
- Set Up Your Workstation: Prepare three bowls: one for the chicken, one for the flour mixture, and one for the batter.
- Season the Chicken: Lightly season the chicken with salt.
- Coating Process: Dip each piece of chicken first into the flour mixture, then into the batter, and back again into the flour mixture.
- Heat the Oil: In a deep pot, heat oil to 350°F.
- Fry the Chicken: Carefully add the chicken to the oil, swaying it gently to prevent sticking. Cook until golden brown and ensure the internal temperature reaches 165°F.
- Drain and Serve: Use a wire rack to drain the chicken, keeping it crispy.
Notes
- Make sure the oil temperature stays consistent at 350°F to ensure even cooking.
- Avoid overcrowding the pot, as it can drop the oil temperature.
- Always check that the chicken’s internal temperature reaches 165°F for safety.
- Drain on a wire rack rather than paper towels to keep the coating crisp.
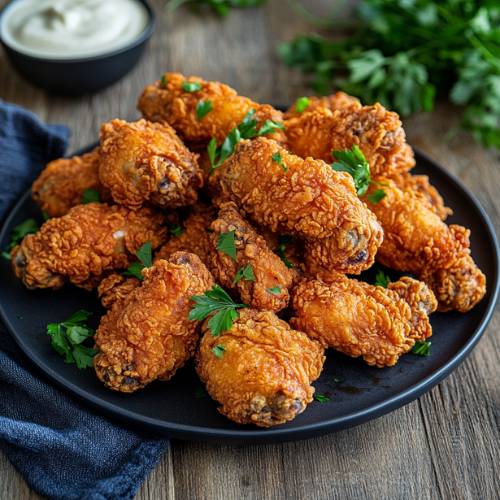

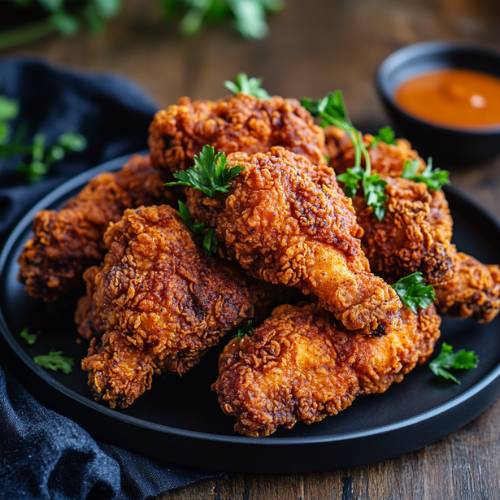
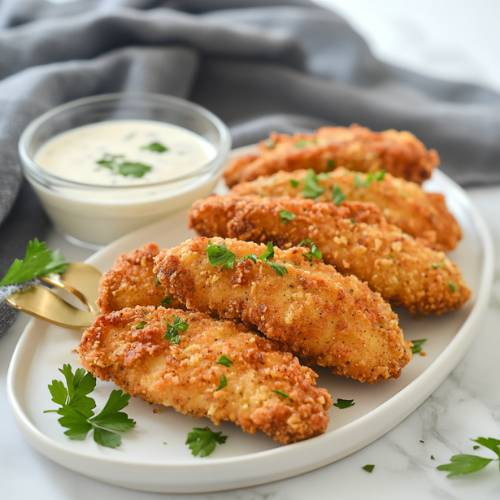
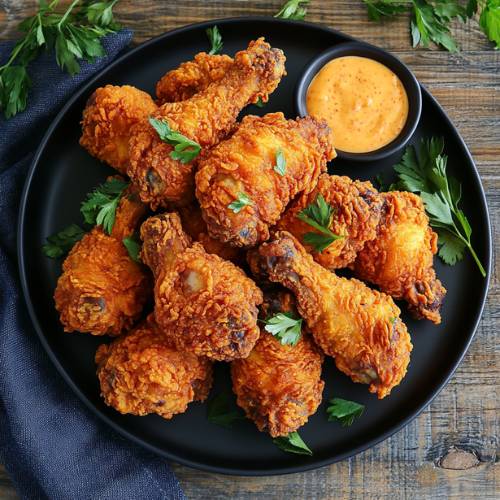
Serving Suggestions
Serve hot with the dipping sauce on the side. It pairs wonderfully with coleslaw, potato wedges, or on a sandwich bun with pickles.
Fun Fact
Did you know that the origin of fried chicken dates back to the Middle Ages, when people used to fry chicken in fat as a way of preservation? Over the years, the technique evolved into the crispy delight we love today!
Conclusion
There you have it a classic, delicious fried chicken recipe that’s sure to be a hit with your family and friends. Crispy, flavorful, and just the right amount of spice, this dish is perfect for picnics, parties, or just a cozy family dinner. Try it out and let me know how it turns out! Enjoy!