
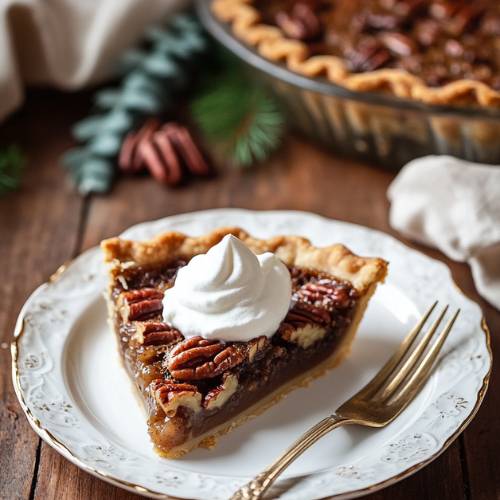
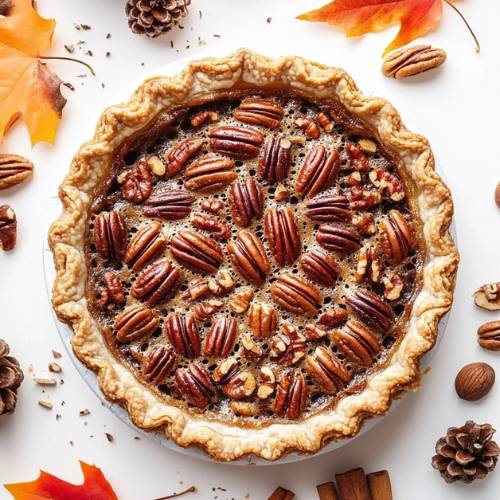
There’s nothing like the sweet, nutty flavor of a pecan pie, and when it’s gluten-free, everyone can enjoy a slice! Whether you’re celebrating the holidays or just craving something sweet, this Gluten-Free Pecan Pie is a must try. It’s rich, gooey, and perfectly balanced with a hint of maple syrup. Plus, with a gluten-free graham-style crust, it’s super simple to make. Let’s dive in!
Method
Preheat the Oven
First, preheat your oven to 400°F (200°C). Proper preheating ensures even baking and helps the pie achieve a consistent texture. While the oven is heating up, gather your ingredients and necessary tools so everything is ready to go.
Prepare the Filling
In a large mixing bowl, start by cracking the eggs and whisking them until they have a smooth, uniform consistency. This step is crucial as it helps incorporate air into the filling, giving it a light, custard-like texture. Once the eggs are well beaten, slowly add the cooled, melted butter to the mixture. It is important that the butter has cooled slightly to prevent curdling the eggs. Next, pour in the maple syrup and vanilla extract, and sprinkle in the brown sugar. Whisk the mixture thoroughly until all ingredients are well combined and no lumps of sugar remain.
Assemble the Pie
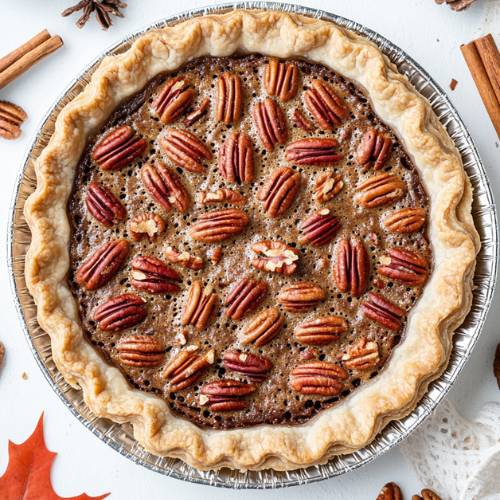
Take your gluten-free graham-style pie crust and place it on a baking sheet to make transferring to the oven easier. Evenly spread the chopped pecans on the bottom of the crust, ensuring they are distributed throughout. Carefully pour the prepared filling over the pecans, making sure they remain evenly spread and don’t clump together.
Bake the Pie
Place the assembled pie in the preheated oven and bake at 400°F for 10 minutes. This initial high temperature helps set the crust and filling. After 10 minutes, reduce the oven temperature to 350°F. Continue baking for another 38 minutes or until the filling is set and slightly puffed, with a golden-brown top.
Cool and Serve
Once the pie is done baking, remove it from the oven and place it on a cooling rack. Let the pie cool completely for at least 3 hours. This cooling period allows the filling to firm up, making it easier to slice and serve. Cutting into the pie too early can result in a runny filling, so patience is key!
Necessary Tools
- Large mixing bowl
- Whisk
- Measuring cups and spoons
- Oven
- Pie dish
- Cooling rack

Gluten-free Pecan Pie Recipe
Cuisine: AmericanDifficulty: Easy8
servings10
minutes48
minutes58
minutesIngredients
3 large eggs
3 tbsp melted butter (cooled)
1/2 cup maple syrup
1 tbsp vanilla extract
1 cup brown sugar
1 cup chopped pecans
9-inch gluten-free graham-style pie crust (such as Midel Brand)
Directions
- Preheat the oven to 400°F (200°C).
- In a large mixing bowl, whisk the eggs until smooth. Add the cooled melted butter, maple syrup, vanilla extract, and brown sugar. Whisk well until fully combined.
- Place the chopped pecans into the pie crust, spreading them evenly. Pour the filling mixture over the pecans.
- Bake at 400°F for 10 minutes. Then, reduce the oven temperature to 350°F and continue baking for another 38 minutes.
- Once baked, remove the pie and allow it to cool on a cooling rack for at least 3 hours to set.
Notes
- Make sure to let the melted butter cool before adding it to the eggs to prevent curdling.
- Don’t rush the cooling process; letting the pie set for 3 hours ensures a firm, sliceable texture.
- Keep an eye on the crust during baking to avoid over browning. You can cover the edges with foil if necessary.
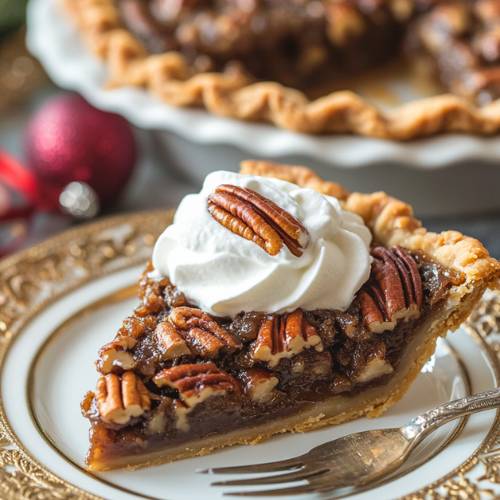
Serving Suggestions
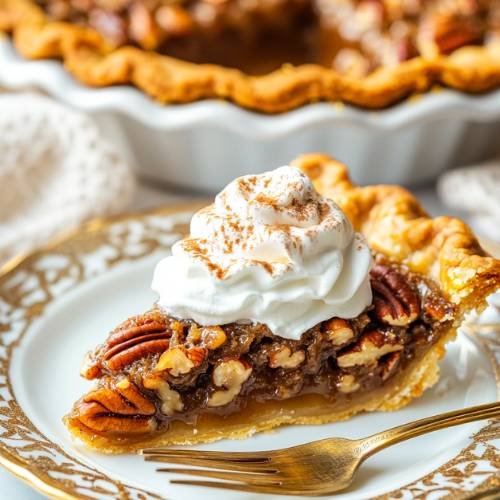
Serve this pie chilled or at room temperature. Top with a dollop of whipped cream or a scoop of vanilla ice cream for a dreamy dessert experience!
Fun Fact
Did you know that pecans are native to North America? They’re one of the few major tree nuts that grow naturally in the United States, making pecan pie a truly American classic!
Conclusion
This gluten-free pecan pie is a delightful dessert that’s easy to make and perfect for sharing. The gooey, nutty filling combined with the crisp graham crust makes every bite irresistible. Enjoy it with friends, family, or just as a treat for yourself! Let me know how it turns out, and happy baking!