Hey friends!
If you’re like me and LOVE chicken wings but want to skip the deep-fryer mess, you’re in for a treat. Today, I’m sharing my favorite baked chicken wings recipe that gets super crispy right in the oven. Yes, baked not fried and still packed with flavor and crunch!
Let’s jump right in.
Method
Preheating the Oven
To start, preheat your oven to 450°F (that’s about 232°C). This high temperature is key for creating that crispy, golden skin on the wings without frying them. While the oven is heating up, it’s the perfect time to get everything else ready.
Prepping the Chicken Wings
Grab your 5 pounds of chicken wings and place them in a large mixing bowl. It’s important to pat them completely dry using paper towels. This might seem like a small step, but trust me it makes a HUGE difference. Moisture on the skin will prevent the wings from getting crispy in the oven. So take your time here, pressing the paper towels gently over each wing to soak up any extra liquid.
Making the Coating Mixture
In a separate small bowl or right in the corner of your mixing bowl, combine the ¾ cup of flour, 1 tablespoon of baking powder, 1 teaspoon of salt, 1 teaspoon of paprika, 1 teaspoon of garlic powder, and ½ teaspoon of black pepper. Stir it all together until it’s well mixed. This magical combo is what gives the wings their crunchy, seasoned crust!
Coating the Wings
Now, sprinkle the flour mixture over the chicken wings. Using clean hands or tongs, toss the wings until they’re all evenly coated. You want every wing to have a nice dusting of the flour mix no bare spots! The baking powder helps to lift and crisp the skin, almost like an oven fried effect.
Lining and Spacing on the Baking Sheet
Next, line a large baking sheet with parchment paper. This keeps the wings from sticking and makes cleanup easier. Place the coated wings on the sheet, but here’s the trick make sure they’re not touching or crowded. Give each wing a little space. If they’re too close together, they’ll steam instead of crisp up.
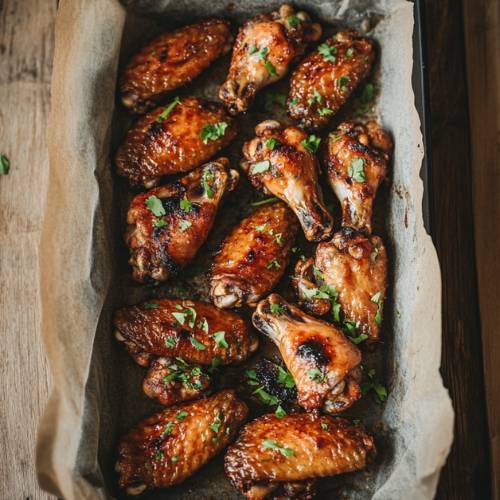
Baking the Wings
Pop the tray into your preheated oven and bake the wings for 15 minutes. After that, use tongs to flip each wing over carefully. Then bake for another 15 minutes on the other side. The total baking time is 30 minutes, and flipping them halfway helps both sides get crispy and golden brown.
Tossing in Sauce
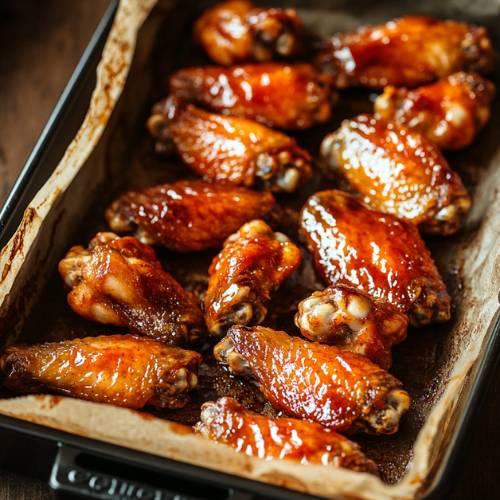
Once the wings are done baking, take them out of the oven and immediately toss them in your favorite sauce while they’re still hot. Whether it’s classic buffalo, smoky BBQ, or sweet chili, the hot wings will soak up the sauce beautifully. Make sure they’re fully coated for maximum flavor in every bite.
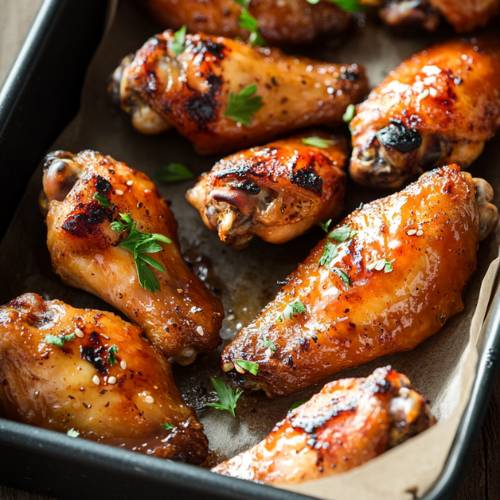
Ready to Serve
And that’s it! Your wings are hot, crispy, and ready to be devoured. Serve them up while they’re fresh out of the oven and enjoy the satisfying crunch with every bite.
Necessary Tools
- Large mixing bowl
- Paper towels
- Measuring cups and spoons
- Parchment paper
- Baking sheet
- Tongs or spatula
- Oven (of course!)

Crispy Baked Chicken Wings – So Good, You Won’t Miss the Fryer!
Cuisine: AmericanDifficulty: Easy8
servings10
minutes30
minutes40
minutesIngredients
5 lbs chicken wings
¾ cup flour
1 tablespoon baking powder
1 teaspoon salt
1 teaspoon paprika
1 teaspoon garlic powder
½ teaspoon black pepper
Your favorite BBQ sauce or hot sauce (for tossing at the end!)
Directions
- Preheat the oven to 450°F (That’s hot but it helps get that crispy skin!)
- Pat the chicken dry using paper towels. This step is super important to help them crisp up.
- In a large bowl, mix the flour, baking powder, salt, paprika, garlic powder, and pepper.
- Add the wings to the bowl and toss them until they’re all nicely coated with the flour mixture.
- Place the wings on a parchment-lined baking sheet. Make sure they’re not touching give those wings some space!
- Bake for 15 minutes. Then, flip them over and bake for another 15 minutes.
- Take them out and toss them with your favorite sauce while they’re still hot.
- Serve and enjoy! Crispy, saucy goodness in every bite!
Notes
- Don’t skip drying the wings. Moisture is the enemy of crispiness!
- Use parchment paper to keep the wings from sticking and make clean-up easy.
- Space them out. Crowding the pan will make them steam instead of bake.
- Toss in sauce AFTER baking. Adding sauce too soon will make them soggy.


Serving Suggestions
- Serve with ranch or blue cheese dip
- Add some carrot and celery sticks on the side
- These are great with fries, coleslaw, or even on their own
- Hosting a game night? Wings + cold drinks = happy guests
Fun Fact
Did you know that the first chicken wing was served in 1964 in Buffalo, New York? That’s why we call them “Buffalo wings!”
Conclusion
These baked chicken wings are one of my favorite easy recipes. They’re crispy, flavorful, and way healthier than fried wings but just as satisfying! Whether it’s game day, a family dinner, or just a snack attack, this recipe always wins.
So give it a try, and let me know how your wings turn out! What sauce do YOU like to use?
Until next time stay crispy, my friends!