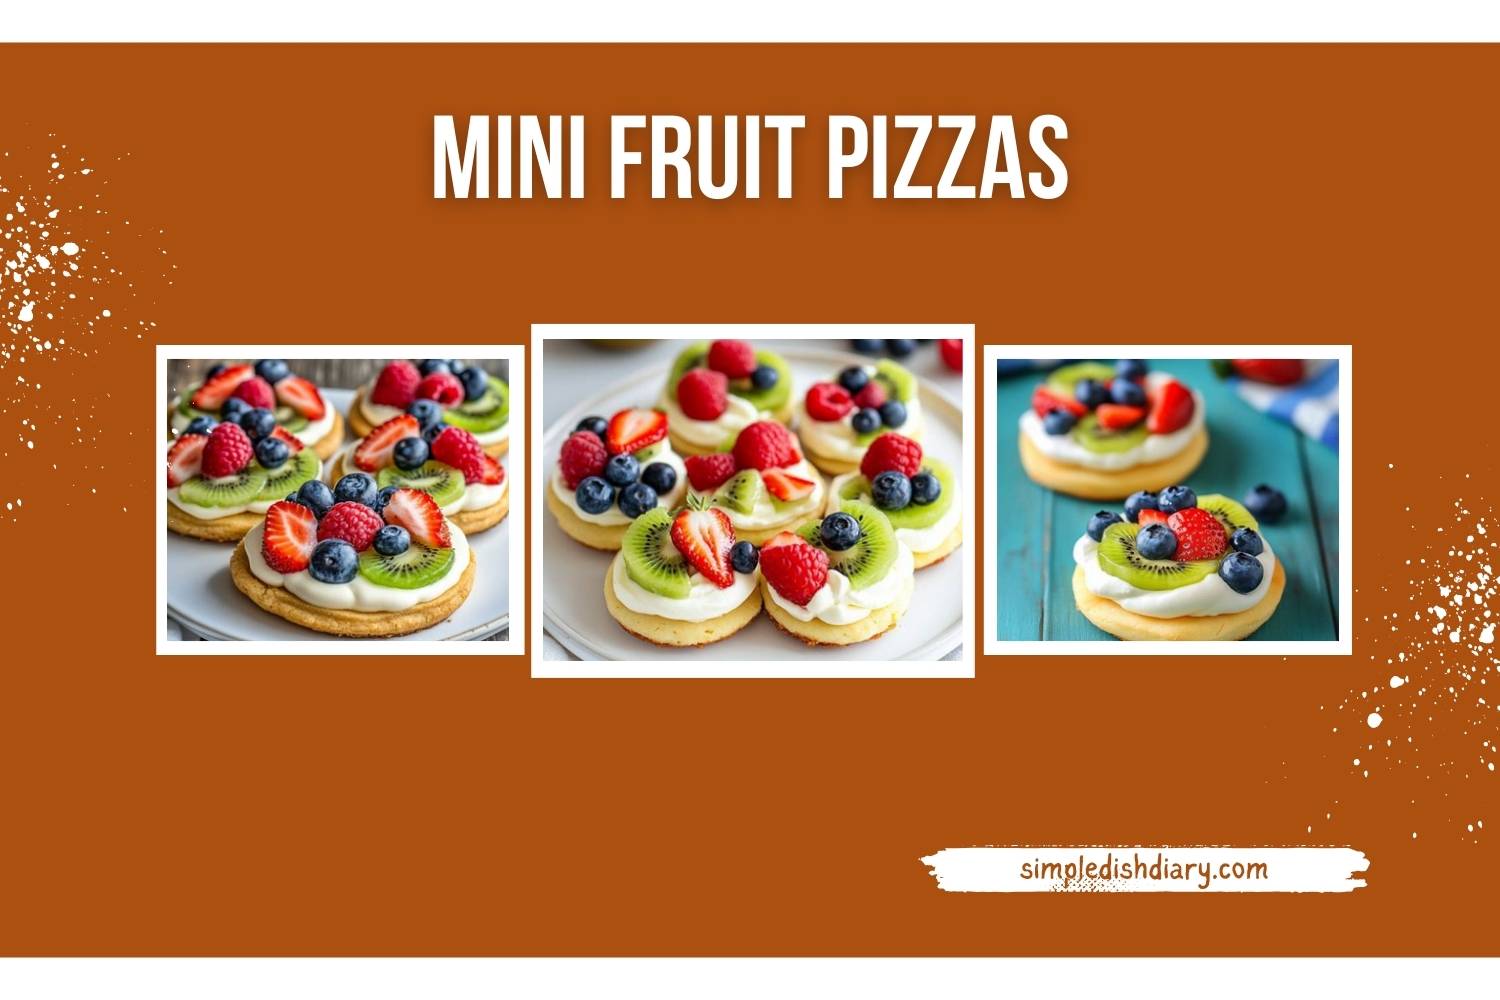

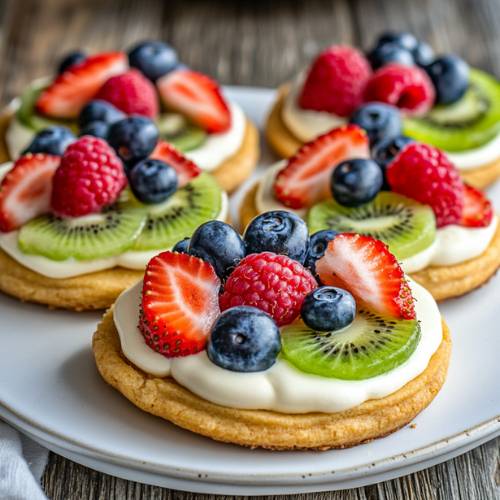
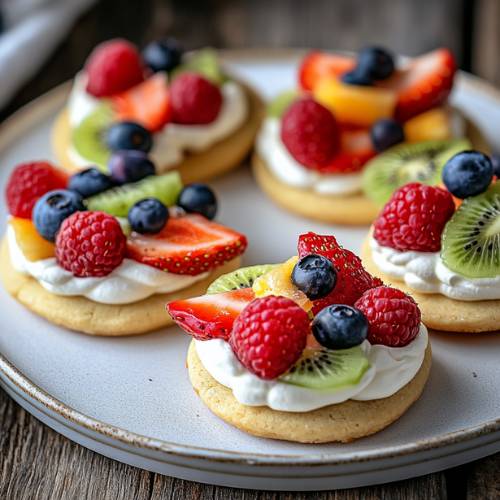
Who doesn’t love pizza? And what if I told you there’s a sweet and fruity version that’s just as fun to make as it is to eat? These Mini Fruit Pizzas are a bright, bite-sized dessert that kids and adults will both love. They’re like little cookie pizzas with a creamy frosting and fresh, juicy fruit on top. Perfect for parties, picnics, or just a weekend baking adventure!
Method
Preheat and Prepare Your Baking Sheet
Before you begin mixing anything, go ahead and preheat your oven to 350°F (175°C). This ensures your oven is ready to go once your cookie dough is shaped and cut. While the oven is heating, line a baking sheet with parchment paper. This not only keeps your cookies from sticking but also makes clean up super easy later on.
Mix the Wet Ingredients
Grab a large mixing bowl and add the melted butter, Greek yogurt, and egg. Use a whisk to mix them all together until the texture is smooth and creamy. This step helps combine the fat and protein evenly so your cookies come out soft and flavorful.
Add and Combine the Dry Ingredients
Now it’s time to add the dry ingredients to your wet mixture. Start by adding the almond flour, then the all-purpose flour, sugar, and baking powder. Using a spoon or rubber spatula, stir everything together until a dough starts to form. The dough should be soft but not sticky. If it feels too sticky, you can sprinkle in just a little more flour (but don’t overdo it!).
Roll Out the Dough
Dust your clean countertop or a rolling mat with a bit of flour to keep the dough from sticking. Place your dough on the surface and roll it out to about 1/4-inch thick. Rolling the dough too thin will make the cookies crisp instead of soft, and too thick can make them underbaked in the center so aim for that nice middle ground.
Cut Out Your Cookies
Use your mini cookie cutters to cut out fun shapes from the rolled dough. You can use circles, hearts, stars whatever you love! Try to cut the cookies as close together as possible so you don’t waste dough. Carefully transfer each cookie to your lined baking sheet. Depending on your cutter size, you should get about 27 cookies.
Bake the Cookies
Place the baking sheet in your preheated oven and bake for 10 to 12 minutes. You’ll know they’re ready when the edges start to turn a light golden color. Be careful not to overbake. These cookies are meant to be soft and a little chewy, not crunchy.
Cool Completely
Once the cookies are done baking, remove them from the oven and transfer them to a cooling rack. Let them cool completely before you start decorating. This step is super important! If the cookies are even a little warm, the frosting will melt and slide off instead of staying in place.
Make the Frosting
While the cookies are cooling, you can make the frosting. In a small bowl, add powdered sugar, a splash of water, and just a dash of vanilla extract. Mix until smooth. You want the frosting to be thick enough to spread easily but not runny. If it’s too thick, add a tiny bit more water. If it’s too thin, add a bit more powdered sugar.
Decorate with Frosting and Fruit
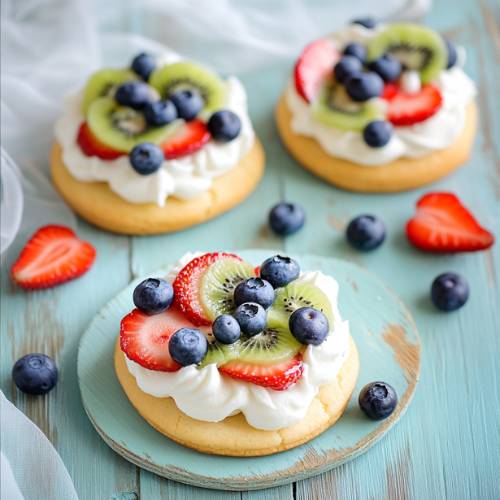
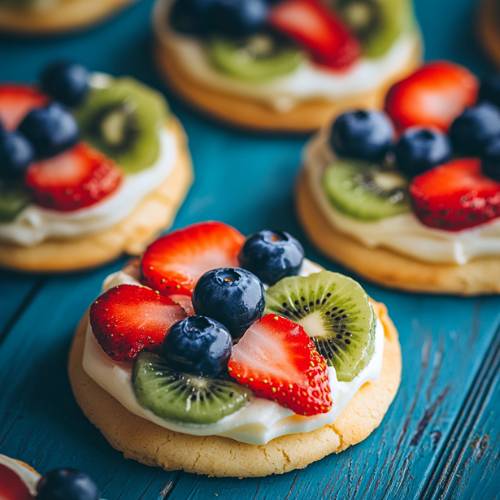
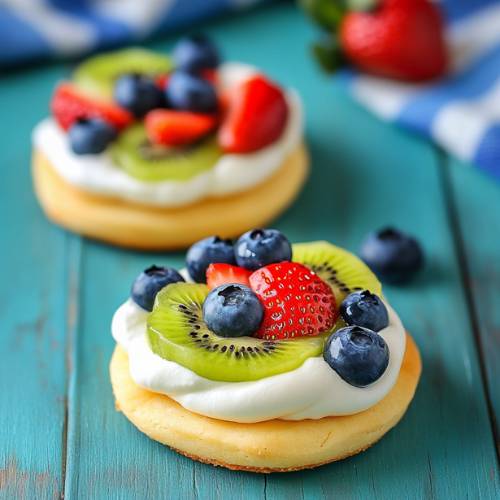
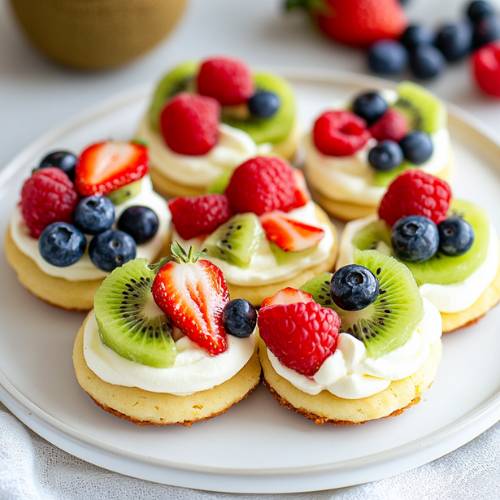
Now comes the fun part of decorating! Once the cookies are fully cooled, use a spoon or small butter knife to spread the frosting on top of each one. Then, add your fresh fruit toppings. You can go classic with slices of strawberries and kiwi, or get creative with blueberries, raspberries, grapes, or even mandarin oranges. Just make sure your fruit is dry so the frosting stays perfect.
Necessary Tools
- Mixing bowls (one large, one small)
- Whisk and spoon or spatula
- Measuring cups and spoons
- Rolling pin
- Mini cookie cutters
- Baking sheet
- Parchment paper
- Cooling rack
MINI FRUIT PIZZAS – A COLORFUL, YUMMY TREAT!
Cuisine: AmericanDifficulty: Easy27
servings15
minutes12
minutes27
minutesIngredients
Cookie Base
2 cups almond flour
1/4 cup all-purpose flour (I used Bob’s Red Mill Gluten-Free 1:1 Baking Flour)
1/2 cup granulated sugar (I used cane sugar)
1/2 teaspoon baking powder
1/4 cup melted butter
1/4 cup Greek yogurt
1 egg
Frosting
Powdered sugar
A splash of water
A dash of vanilla extract
Toppings
Fresh fruit (strawberries, blueberries, kiwi, grapes whatever you like!)
Directions
- Preheat your oven to 350°F. Line your baking sheet with parchment paper so the cookies don’t stick.
- In a large bowl, whisk together the melted butter, Greek yogurt, and egg.
- Add the dry ingredients (almond flour, all-purpose flour, sugar, and baking powder). Mix everything together until it forms a dough.
- Sprinkle a little flour on your counter and roll out the dough. Not too thin, not too thick about 1/4 inch works great!
- Use your mini cookie cutters to cut out about 27 cookies. Place them on the baking sheet.
- Bake for 10–12 minutes, until the edges are just starting to turn golden.
- Let the cookies cool completely on a cooling rack before you decorate.
- Make your frosting by mixing powdered sugar with a little water and a dash of vanilla. It should be thick enough to spread, not runny.
- Spread the frosting on the cooled cookies and top with your favorite fresh fruits.
Notes
- Don’t skip the cooling time! If the cookies are warm when you add the frosting, it will melt and make a mess.
- Roll the dough evenly. If it’s too thick, the cookies may not bake all the way through. Too thin, and they’ll get too crispy!
- Use dry fruit. After washing your fruit, pat it dry. If it’s wet, it will make the frosting watery.
Serving Suggestions
These mini fruit pizzas are super versatile:
- Party platter: Arrange them in a rainbow pattern for a colorful centerpiece.
- After-school snack: Let kids decorate their own!
- Brunch treat: Serve them with fresh juice or smoothies.
- Make it a dessert bar: Set out bowls of different fruits and let everyone build their own!
Fun Fact
Did you know? The idea of a “fruit pizza” started in the U.S. in the 1980s as a fun twist on regular pizza. But instead of sauce and cheese, it had cream cheese and fruit!
Conclusion
These Mini Fruit Pizzas are just the right mix of sweet, soft, and fruity. They’re fun to make, pretty to look at, and even more fun to eat. Whether you’re baking with kids or prepping for a get-together, they’ll be a hit for sure.