


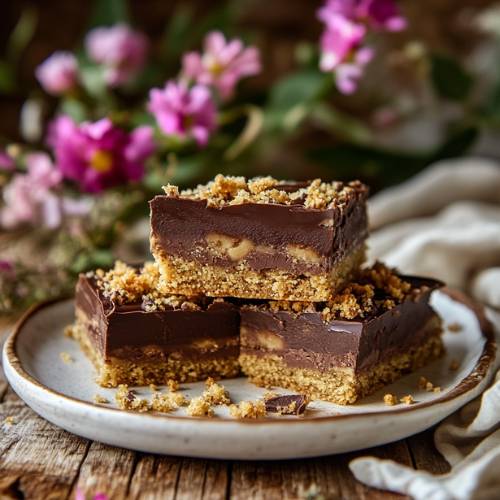
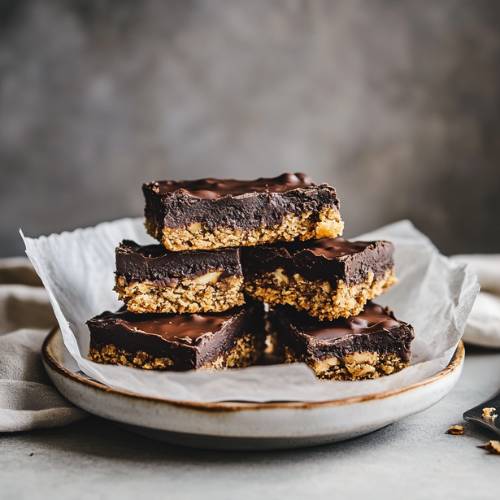
Hey there, sweet treat lovers! Today, I’ve got a super simple and totally delicious recipe for you No Bake Brookie Bars! These bars are the perfect mix of cookie dough and brownie, but guess what? You don’t even need an oven. That’s right, no baking at all! It’s quick, fun, and totally kid-approved. Whether you’re in a rush, it’s too hot to bake, or you just want an easy dessert, this one’s for you.
Method
Get your loaf pan ready
Before you begin mixing anything, make sure your loaf pan is lined with parchment paper. This step might seem small, but it’s super important. The parchment paper helps you lift the bars out easily once they’re frozen, and it keeps the layers from sticking to the bottom of the pan. Trust me, don’t skip this step!
Make the cookie dough layer
In a mixing bowl, combine 1 and 1/2 cups of almond flour, 1/4 cup of maple syrup, and 1/3 cup of peanut butter. Use a spatula or spoon to mix everything together until it forms a thick, sticky dough. Once it’s smooth, stir in 1/3 cup of chocolate chips or chunks. These add the perfect little bursts of sweetness and texture. The mixture should feel like real cookie dough soft and a little chewy, but firm enough to hold its shape.
Make the brownie batter
In a second bowl, add 1 cup of almond flour, 1/4 cup of cacao powder, and 1/2 cup of coconut sugar. Mix the dry ingredients first to make sure everything is evenly combined. Then, stir in 1/4 cup of peanut butter and 3 tablespoons of non-dairy milk (I used oat milk, but you can use whatever plant-based milk you have). Mix well until the batter is smooth, thick, and chocolatey. It should be spreadable but not runny almost like a soft frosting.
Layer it up
Now it’s time to bring both parts together. Scoop the cookie dough layer into your prepared loaf pan first. Use a spatula or the back of a spoon to press it down evenly and firmly into the bottom. Make sure it’s packed in tight and flat this helps keep the layers from slipping later. Once your cookie dough layer is set, gently spread the brownie batter on top. Try to smooth it out into an even layer, covering all the cookie dough so it looks like one solid chocolatey surface.
Freeze and slice
Place the loaf pan into the freezer and let it sit for about an hour. This chilling time helps the bars firm up and makes them way easier to cut. After an hour, remove the pan from the freezer and lift the bars out using the parchment paper. Place it on a cutting board and use a sharp knife to cut them into even bars. For clean slices, you can dip your knife in warm water and wipe it clean between cuts.
Once sliced, your brookie bars are ready to enjoy! Store any extras in the fridge or freezer to keep them fresh, firm, and fudgy.
Necessary Tools
- 1 loaf pan
- Parchment paper
- 2 mixing bowls
- Measuring cups and spoons
- A spatula or spoon
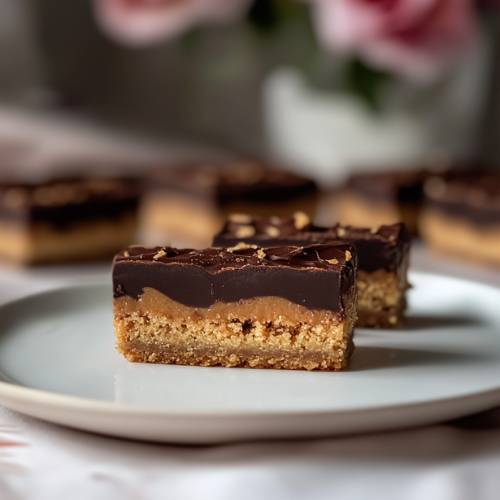
No Bake Brookie Bars
Cuisine: AmericanDifficulty: Easy8
servings10
minutes1
hour1
hour10
minutesIngredients
Cookie Dough Layer
1 & 1/2 cups almond flour
1/4 cup maple syrup
1/3 cup peanut butter
1/3 cup chocolate chips or chunks
Brownie Layer
1 cup almond flour
1/4 cup cacao powder
1/2 cup coconut sugar
1/4 cup peanut butter
3 tbsp non-dairy milk (I used oat milk!)
Directions
- Get your loaf pan ready: Line it with parchment paper so the bars don’t stick later.
- Make the cookie dough layer: In one bowl, mix the almond flour, maple syrup, peanut butter, and chocolate chips. Stir it well until it looks like yummy cookie dough!
- Make the brownie batter: In the second bowl, combine almond flour, cacao powder, coconut sugar, peanut butter, and non-dairy milk. Mix it all up until smooth.
- Layer it up: Scoop the cookie dough into your lined pan first. Press it down flat using a spatula or the back of a spoon. Then gently spread the brownie layer on top.
- Freeze and slice: Pop the pan into the freezer for about an hour. After that, cut it into bars and enjoy!
Notes
- Mix Separately: Don’t mix all the ingredients in one bowl cookie dough and brownie layers need their own flavors to shine.
- Press Down Evenly: If you don’t press the cookie dough flat enough, the brownie layer might slide off.
- Don’t Skip Freezing: Freezing helps the layers set properly. If you rush it, the bars might be too soft to cut.
- Use a Sharp Knife: For nice, clean bars, use a sharp knife after freezing. You can even dip it in warm water for smoother cuts.
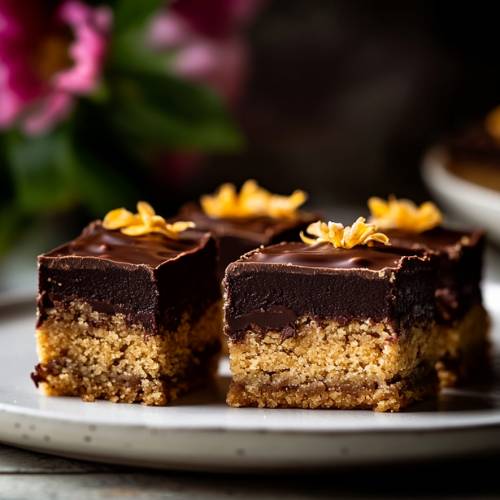
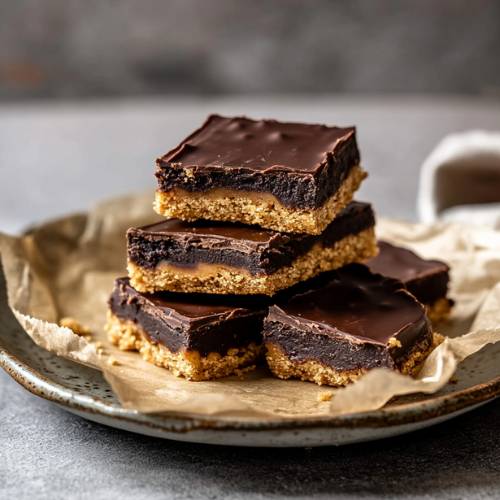
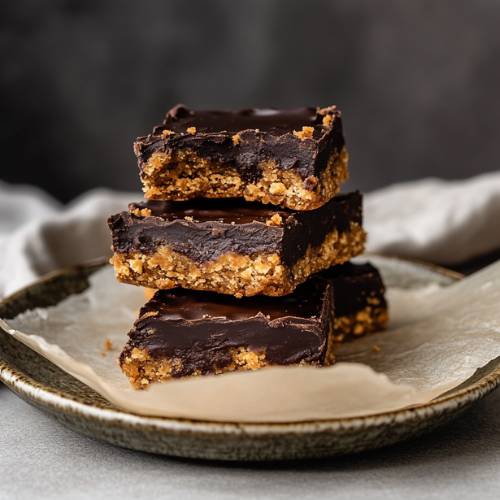
Serving Suggestions
- Chill & Serve: These bars taste amazing cold just pull one from the fridge and enjoy.
- Drizzle Time: Add a little melted chocolate or a swirl of peanut butter on top for a fancy touch.
- Party Snack: Cut them into small squares for the perfect party bite!
- Ice Cream Buddy: Serve a piece with a scoop of dairy-free ice cream yum!
Fun Fact
The word “brookie” is a mix of “brownie” and “cookie” just like these bars! It’s the best of both worlds for dessert fans. And did you know you can eat both layers raw because there’s no egg or flour that needs baking? Win-win!
Conclusion
And there you have it no-bake brookie bars that are rich, chewy, and full of chocolatey goodness! These are perfect for kids, parties, or anytime your sweet tooth calls. I love how easy they are to make with no oven needed. Give them a try, and let me know how yours turn out.