
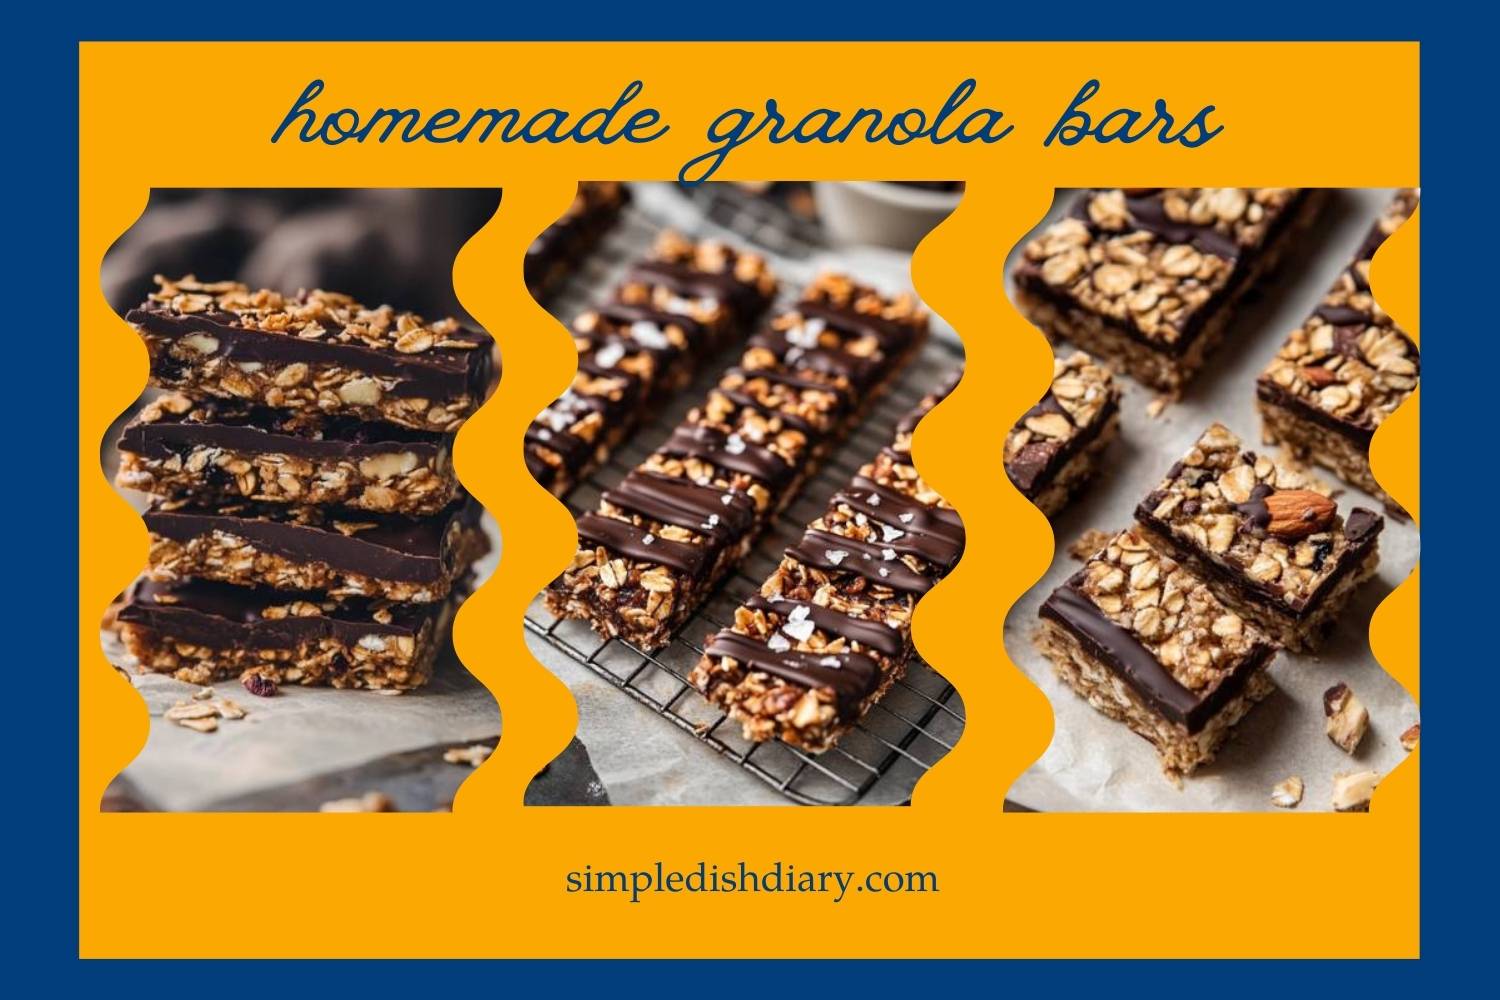

Who else LOVES a sweet, chewy snack that’s super easy to make at home? I sure do! These homemade granola bars are perfect for lunchboxes, after-school snacks, or even breakfast on the go. With just a few ingredients and no baking needed, you can whip up a batch in no time and they taste way better than store-bought ones!
Method
Mix It Up
To start, grab a large mixing bowl and pour in your rolled oats. Next, add the maple syrup and your melted peanut butter. If your peanut butter is thick or cold, gently warm it in the microwave or on the stovetop until it’s smooth and pourable but not too hot! This helps everything blend more easily. Once all your ingredients are in the bowl, use a spoon or spatula to stir it all together. Make sure every oat gets coated in that sticky peanut butter-maple goodness. You’re looking for a thick, sticky texture that holds together when pressed.
Press It Down
Now it’s time to shape your granola bars! Line an 8×8 inch square pan with parchment paper, letting a little extra hang over the edges (this makes it easier to lift out later). Pour the oat mixture into the pan and start pressing it down evenly. This part is super important! Press firmly with the back of your spoon or spatula or even clean hands until the mixture is smooth and compact. The more firmly you press, the better your bars will hold together once chilled.
Chocolate Time
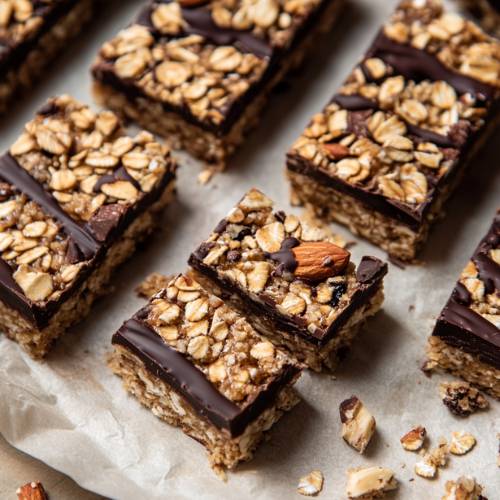
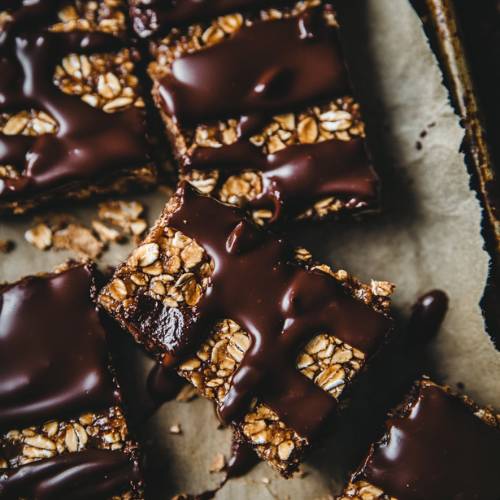
Melt your chocolate in a microwave-safe bowl in short bursts (15-30 seconds at a time), stirring in between, until it’s smooth and pourable. Then, pour it right over your pressed granola layer. Use a spoon or spatula to spread it evenly from corner to corner. This chocolate topping adds a sweet finish and helps hold the bars together once they’re chilled. You can go for a thin layer or pour on a little extra if you’re feeling extra sweet!
Chill Out
Place the pan in your fridge and let it chill for at least one hour. This step is key! It gives the bars time to set and allows the chocolate to firm up completely. If you’re in a hurry, you can pop them in the freezer for about 30 minutes instead but the fridge method gives the best texture.
Flip & Slice
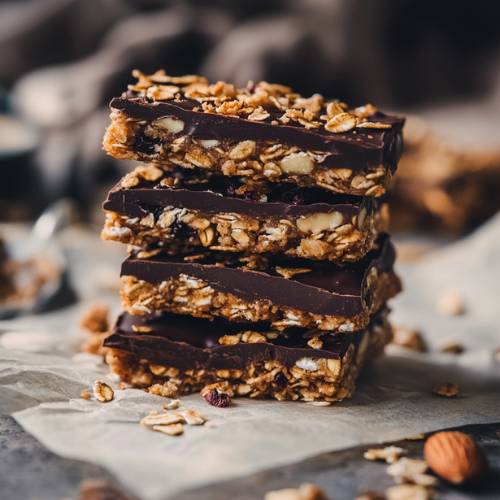
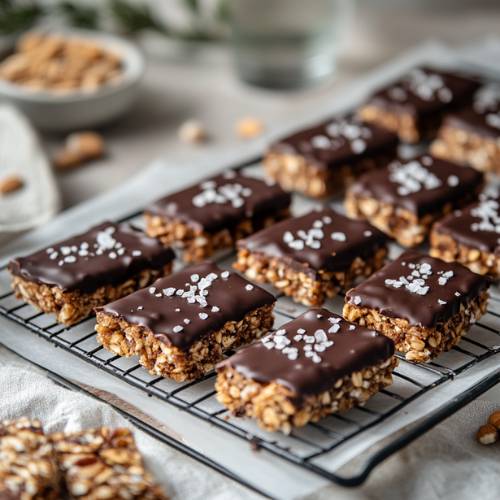
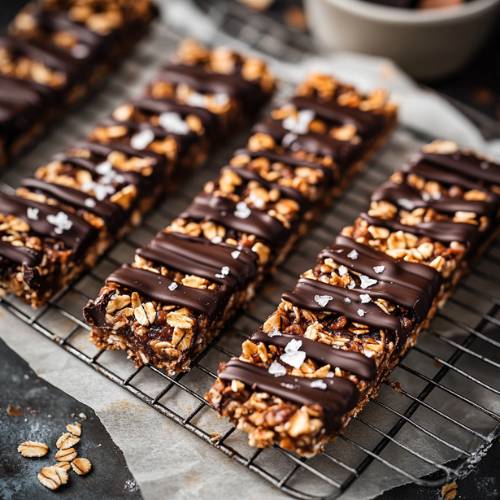
Here’s a fun little trick I always use: before cutting the bars, carefully lift the whole block out of the pan using the parchment paper. Then flip it over onto a cutting board so the chocolate side is facing down. This helps the chocolate stay in place when slicing, instead of cracking or falling apart. Use a sharp butter knife or chef’s knife to cut into bars or squares, depending on your preferred size. And just like that your homemade granola bars are ready to eat!
Necessary Tools
- Mixing bowl
- Spoon or spatula
- 8×8 inch square pan
- Parchment paper
- Measuring cups
- Butter knife (for cutting the bars later)
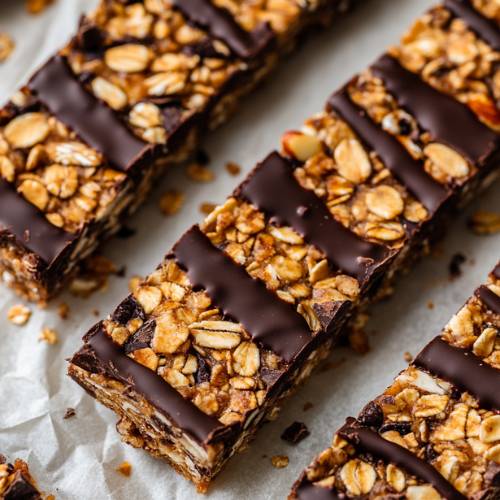
Homemade Granola Bars
Cuisine: AmericanDifficulty: Easy10
servings10
minutes1
hour1
hour10
minutesIngredients
2 cups rolled oats
1 & 1/4 cups peanut butter (melted)
1/3 cup maple syrup
Melted chocolate (for topping as much as your sweet tooth says!)
Directions
- Mix it up: In a big mixing bowl, combine your rolled oats, maple syrup, and melted peanut butter. Stir it all together until it’s sticky and well mixed.
- Press it down: Line your 8×8 pan with parchment paper, then press the granola mixture into it nice and flat.
- Chocolate time: Pour melted chocolate on top and spread it around evenly.
- Chill out: Pop the pan in the fridge for at least 1 hour. This helps the bars firm up and the chocolate to set.
- Flip & slice: Here’s a little trick: when you’re ready to cut them, flip the whole thing over so the oats are on top. This makes the chocolate stay in place better when you slice!
Notes
- Don’t skip the chilling part! If the bars are still soft, the chocolate can crack when you try to cut them.
- Make sure the peanut butter is melted but not too hot, or it might make the oats too soft and gooey.
- Press the mixture firmly into the pan so the bars hold together when sliced.
Serving Suggestions
- Wrap them in parchment paper and add them to your lunchbox.
- Crumble one on top of yogurt or ice cream for a sweet topping.
- Pair with a glass of milk or a smoothie for a quick breakfast.
Fun Fact
Did you know granola was first created in the 1800s as a health food? People thought oats were a superpower grain and honestly, they were right!
Conclusion
And there you have it super easy, super tasty homemade granola bars! These bars are chewy, chocolatey, and made with love. You don’t need an oven, just a few pantry staples and a little fridge time. So next time you’re hungry for a quick bite, why not make a batch with your own hands? Trust me, you’ll be reaching for one every day!