


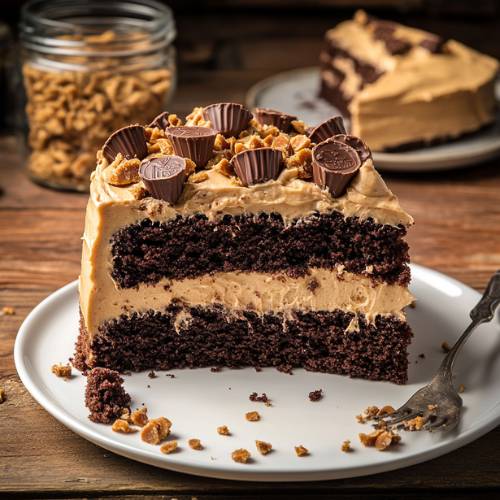
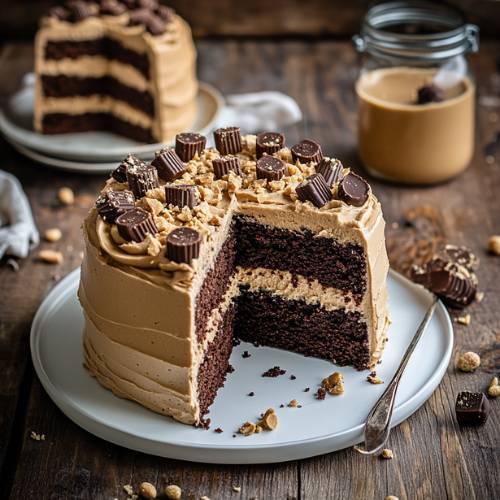
If you’re a fan of peanut butter and chocolate, you are going to LOVE this cake. It’s soft, chocolatey, and topped with a creamy peanut butter frosting and yummy peanut butter cups. I made this recipe with a mix of gluten-free flour and almond flour to keep it light and fluffy and it turned out amazing!
Whether it’s for a birthday, a family get-together, or just because you want a treat (no excuse needed!), this Peanut Butter Cup Cake is super fun to make and even more fun to eat.
Method
Preheat & Prepare the Cake Pans
To start things off, preheat your oven to 350°F (175°C). This gives your oven enough time to get nice and hot while you mix the batter. Meanwhile, take two 9-inch round cake pans and lightly grease them with oil or butter. You can also line the bottoms with parchment paper if you want super easy removal later. This step helps make sure your cakes won’t stick when they’re done baking.
Mix the Wet Ingredients
In a large mixing bowl, crack in the eggs and pour in the milk (I used almond milk, but feel free to use your favorite kind). Using a whisk or electric mixer, beat these together until they are well blended and slightly frothy. The eggs help give the cake structure, while the milk keeps it moist and tender. This step only takes a minute or two, but it’s really important for combining the base of your batter.
Add the Dry Ingredients
Next, it’s time to add the dry ingredients into the same bowl. Start with the almond flour, all-purpose flour (I used a gluten-free 1:1 blend), and cacao powder. Then sprinkle in the baking powder and coconut sugar. Stir everything together gently with a spatula or mixer on low speed. Be careful not to overmix the batter should be smooth but not overworked. Overmixing can make your cake turn out dense instead of light and fluffy.
Divide & Pour the Batter
Once your batter is ready, carefully divide it evenly between the two prepared pans. You can use a spoon or measuring cup to help make sure both pans get about the same amount of batter. This step ensures that both cake layers will bake evenly and come out the same height. Smooth the tops with a spatula if needed.
Bake the Cakes
Place both pans into the preheated oven and bake for 15 minutes. Every oven is a little different, so it’s a good idea to check the cakes by inserting a toothpick into the center. If it comes out clean or with just a few crumbs, they’re done! If there’s still some wet batter, give it a couple more minutes. Once done, take the pans out and let the cakes cool completely. This part is super important cooling helps the cakes firm up and makes them easier to handle later.
Make the Peanut Butter Frosting
While your cakes are cooling, it’s time to whip up the creamy peanut butter frosting! In a bowl, mix together powdered sugar, a generous spoonful of peanut butter, and a small splash of water. Stir until everything is smooth and spreadable. You can add a bit more water if it’s too thick or more sugar if you want it sweeter. The texture should be silky and perfect for spreading across the cake layers.
Assemble the Cake
Now for the fun part putting the cake together! Gently remove one of the cakes from its pan and place it on a large plate or cake board. Spread a generous layer of peanut butter frosting across the top using a spatula. If you love a little crunch, sprinkle some chopped roasted peanuts on this layer. They add a fun texture and extra peanutty flavor.
Add the Second Layer & Decorate
Next, place the second cake layer on top of the first one. Press down gently to help it settle in place. Now use the remaining frosting to cover the top and sides of the whole cake. Smooth it out or swirl it whatever you like! Finally, chop up some peanut butter cups and scatter them over the top. You can also add more peanuts if you’re feeling fancy. The mix of chocolate and peanut butter makes it look as good as it tastes!
Time to Serve
Let the cake chill for about 10–15 minutes to let everything set. Then grab a knife, cut a big slice, and enjoy the peanut butter chocolatey magic! You can serve it right away or store it in the fridge if you’re making it ahead of time.
Necessary Tools
- 2 9-inch cake pans
- Large mixing bowl
- Whisk or electric mixer
- Spatula
- Measuring cups and spoons
- Cooling rack
- Knife for chopping the toppings

Peanut Butter Cup Cake
Cuisine: AmericanDifficulty: Easy10
servings20
minutes15
minutes35
minutesIngredients
1/2 cup cacao powder
1 & 1/3 cups almond flour
1 cup all-purpose flour (I used @bobsredmill gluten-free 1:1 baking flour)
1 tsp baking powder
2/3 cup coconut sugar
1 cup milk (I used almond milk)
4 eggs
Roasted peanuts (optional, for crunch!)
Peanut butter cups (for topping I used @wholefoods)
Frosting
Powdered sugar
Peanut butter
Water (just enough to make it smooth and spreadable)
Directions
- Preheat your oven to 350°F and grease two 9-inch cake pans.
- In a big bowl, whisk together the wet ingredients first (milk and eggs).
- Then stir in the dry ingredients almond flour, gluten-free flour, cacao powder, coconut sugar, and baking powder. Mix until everything is smooth.
- Split the batter between both pans evenly.
- Bake for 15 minutes, or until a toothpick comes out clean.
- Let the cakes cool completely before removing them from the pans.
- While waiting, make the frosting by mixing powdered sugar, peanut butter, and a little water until creamy.
- Place one cake on a plate or board. Spread some frosting on top, then sprinkle chopped peanuts if you like a little crunch.
- Stack the second cake on top and spread more frosting all over.
- Finish by adding chopped peanut butter cups and extra peanuts on top.
Notes
- Let the cake cool completely before frosting. If it’s still warm, the frosting can melt and slide off.
- Don’t overmix the batter just mix until smooth. Overmixing can make the cake dense.
- If you’re using regular peanut butter, make sure it’s not too oily or the frosting may get runny.
- When chopping peanut butter cups, use a sharp knife to avoid smooshing them!

Serving Suggestions
- Serve with a cold glass of almond milk or a warm cup of hot chocolate.
- Add a scoop of vanilla ice cream on the side for an extra treat.
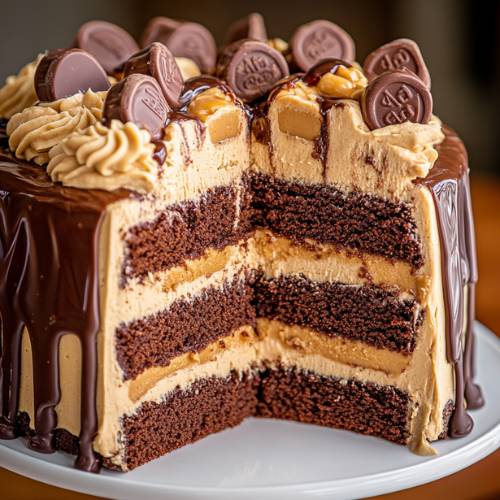
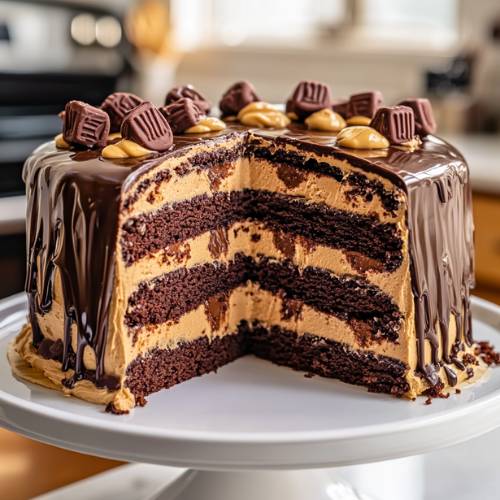
- Want to make it fancy? Drizzle melted chocolate over the top!
Fun Fact
Did you know peanut butter was first made by the Ancient Incas and Aztecs? They ground roasted peanuts into a paste kind of like the peanut butter we love today! It became super popular in the U.S. during the early 1900s.
Conclusion
This Peanut Butter Cup Cake is full of flavor, fun, and peanut-buttery goodness. It’s easy to make and even easier to enjoy! Whether you’re baking it for a special occasion or just because you’re craving something sweet, this cake is sure to make everyone happy.